BLOG #9 putting it all together
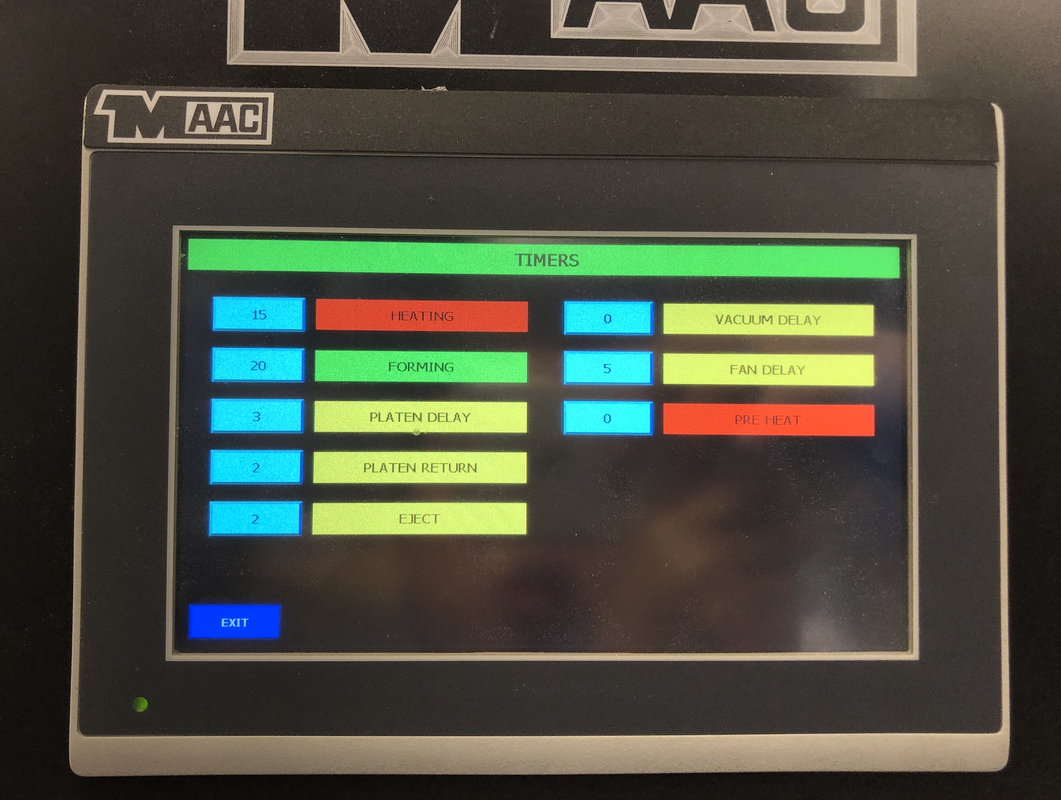
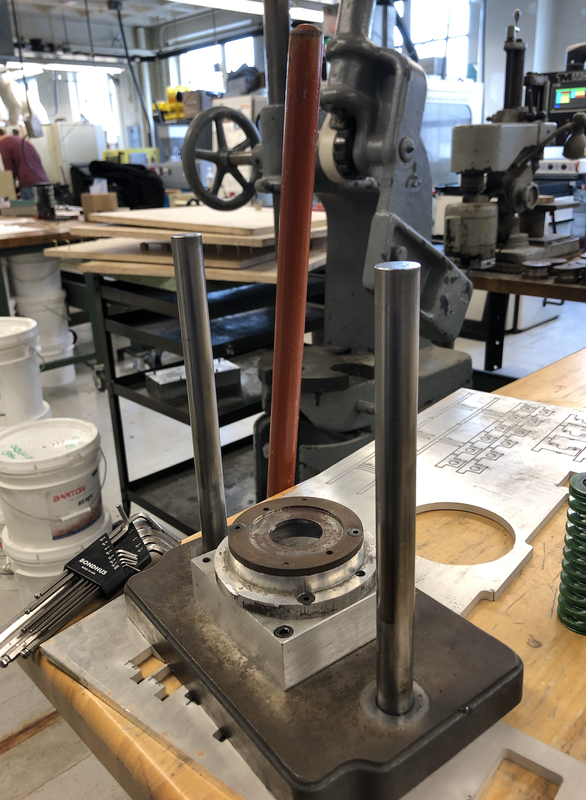
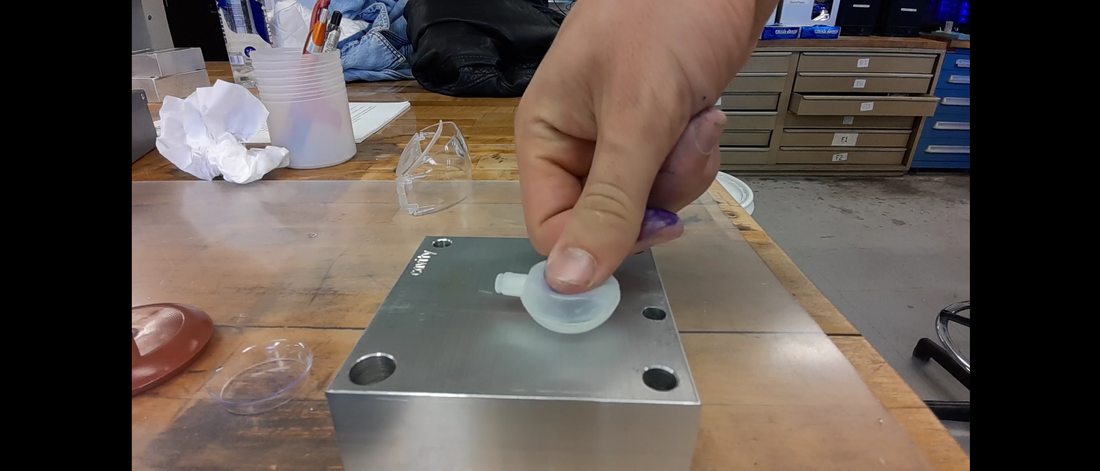
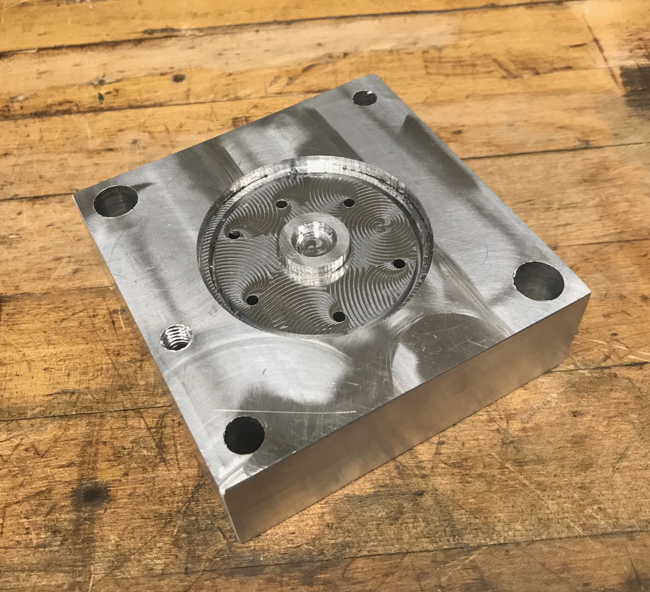
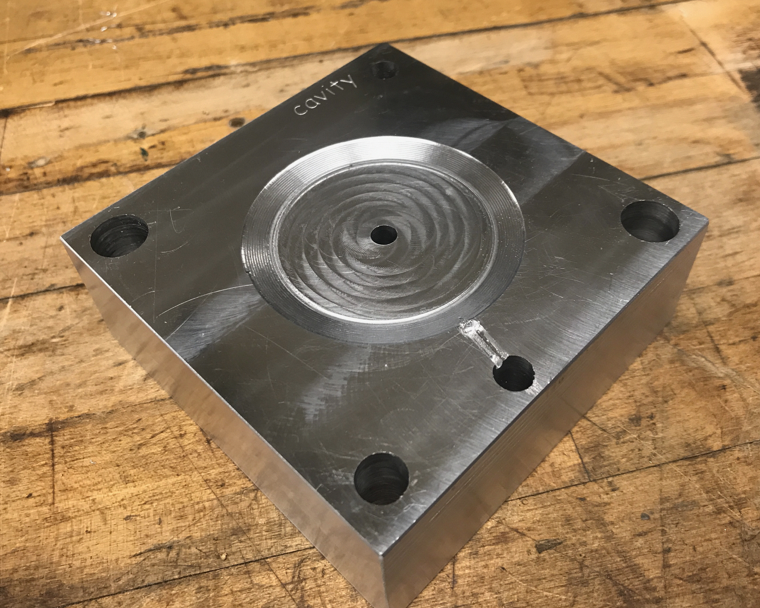
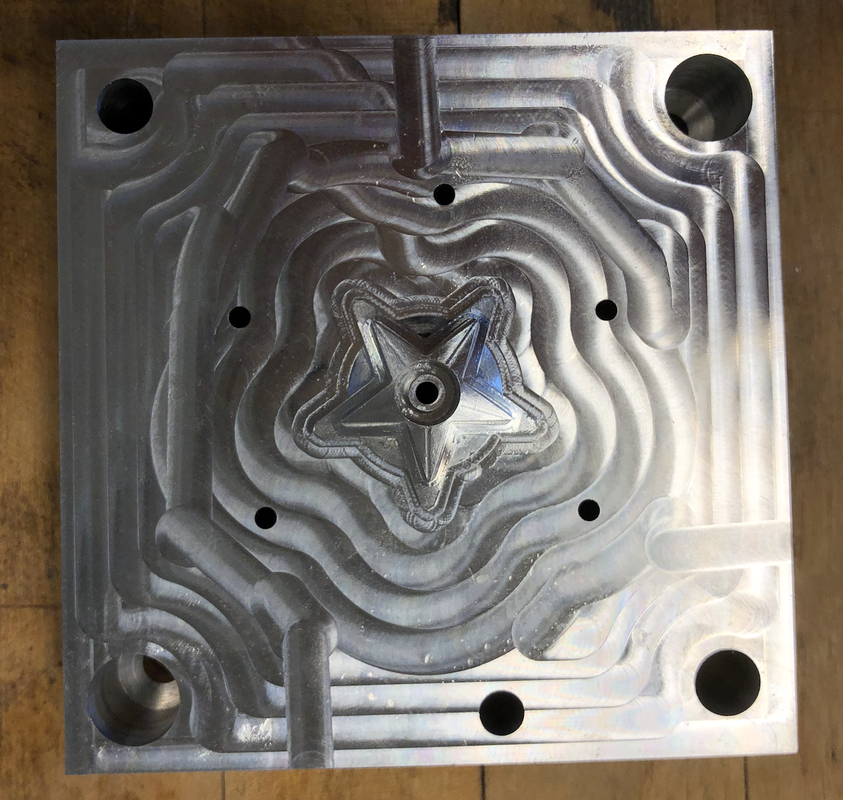
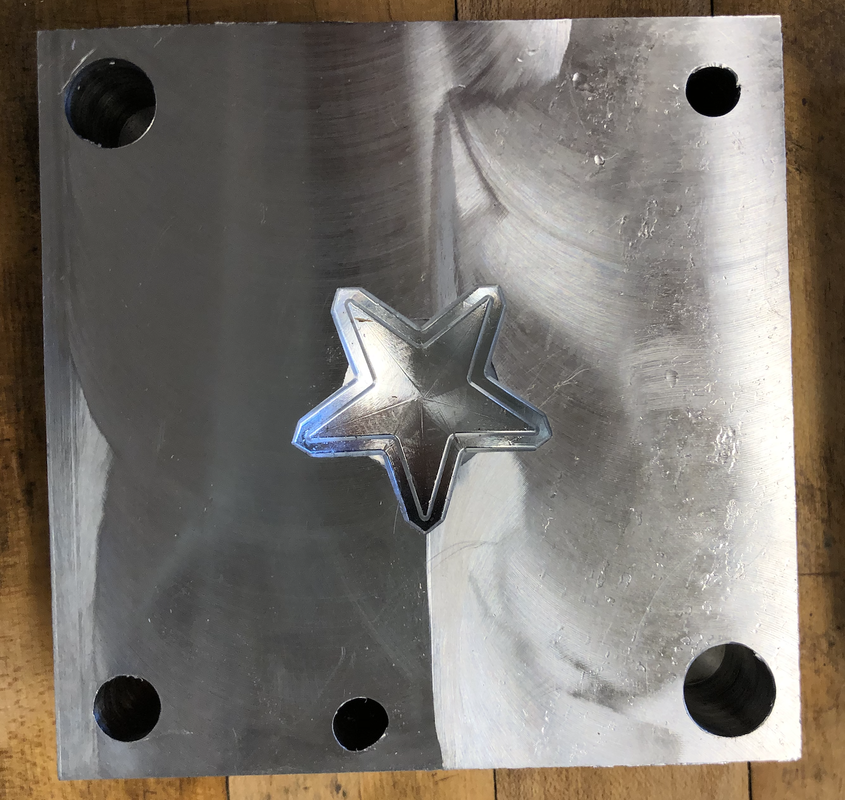
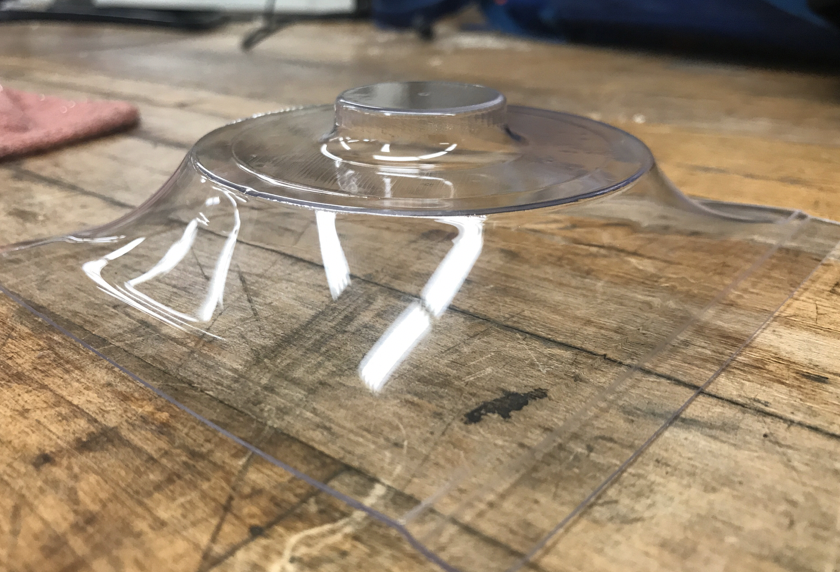
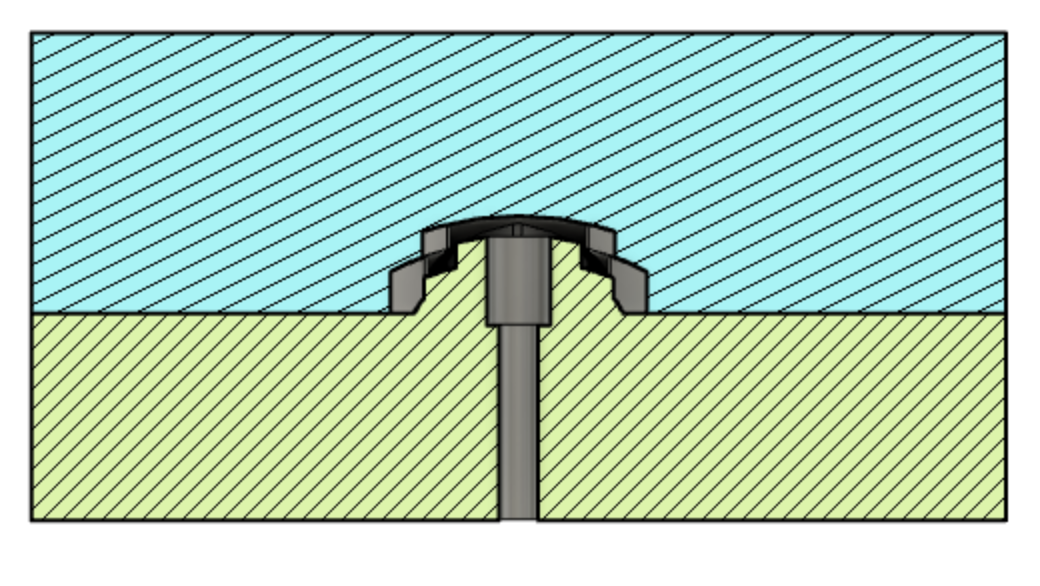
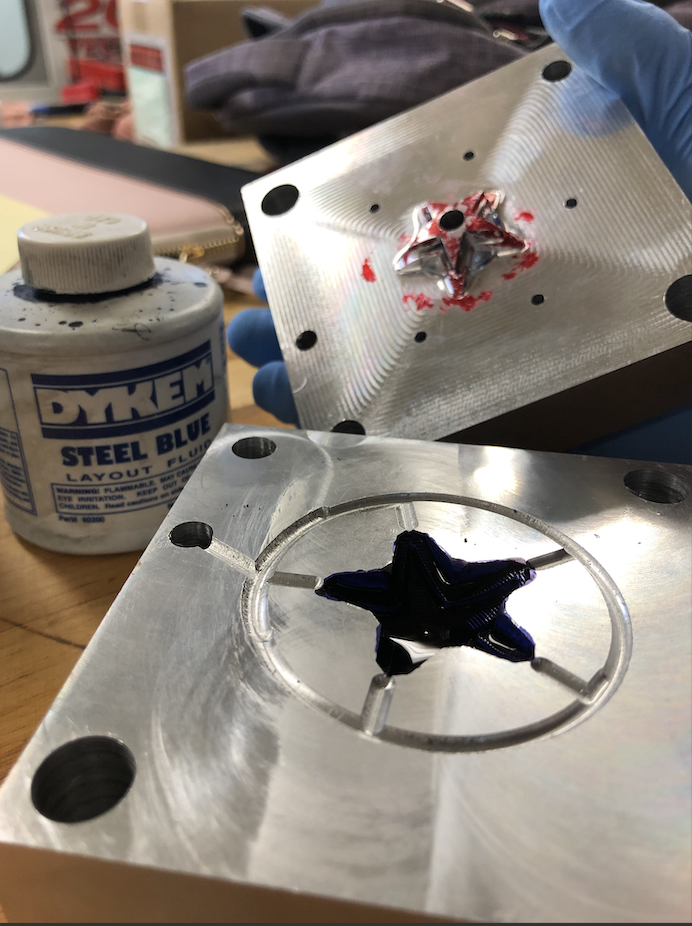
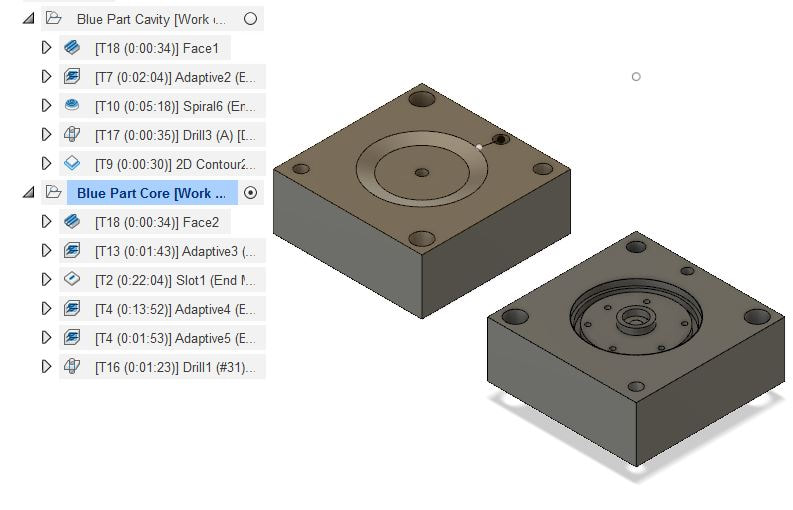
Despite believing our work to be mostly done, we were snake bitten by our snap fit/press fit on the outer diameter of our Yo-Yo. We initially attributed this to a draft on the blue mold due to the use of a tapered end mill. However, removing the draft did nothing to alleviate the problem, and instead only served to increase interference. We then decided to remake the blue mold core with new tooling, namely a 1/8" flat end mill. However, the outer diameter was sized improperly, causing too much interference once again. Eventually, we decided to remake it again with slightly amended depths and updated CAM on the HAAS. After some troubles with the 'Boy - at about 5:45 on December 2nd, time stood still for the "snap heard round the word." Finally believing our troubles to be over, we shifted energy to remaking the shoulder bolts and creating spacers. However, fortunes again worsened when we realized that the blue mold final operation had tool "centered on boundary" rather than "inside boundary" meaning that our thermoform part no longer fit. Some quick iterations with 2D contours had that problem remedied though. The yellow mold was experiencing some problems around this time during the production run. Some last second changes on the runner, and again increasing interference on the snap fit (from .02 to .03) seemed to do the trick.
At last, we had completed production runs on all of our Yo-Yo's components, and we turned to assembly. Despite some manual labor on post-processing some parts, assembly went far smoother than the events of the previous week. After 50 Yo-Yos were complete - it was time to turn our attention to the analysis and presentation of findings.
At last, we had completed production runs on all of our Yo-Yo's components, and we turned to assembly. Despite some manual labor on post-processing some parts, assembly went far smoother than the events of the previous week. After 50 Yo-Yos were complete - it was time to turn our attention to the analysis and presentation of findings.
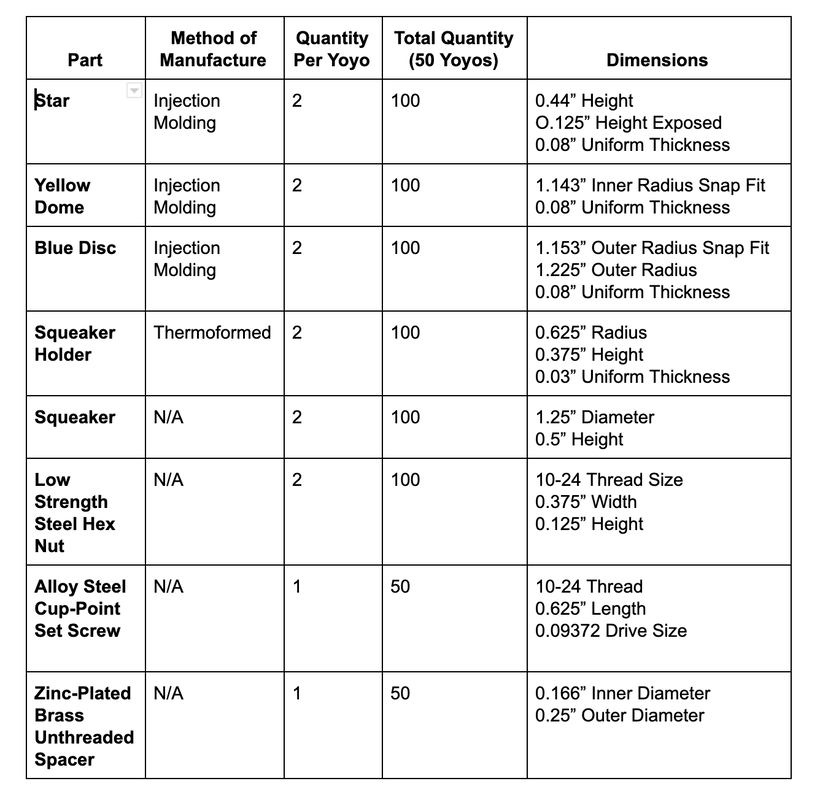
1. Production Runs
This process has lead to a plethora of learning opportunities on design, manufacturing, and production. Some of the lessons that we gained included:
I. Increase pressure to get rid of dimples in injection molded parts. We still have some learning to do about the balance between reducing dimples and maintaining low levels of flash. Potentially altering the packing pressure and time would also be helpful.
II. Check CAD two hundred times (minimum) so you only CAM and machine once.
III. Design your parts to decrease cycle time during the injection molding process.
IV. Different injection molding machines need different settings.
V.Design such that you can alter molds instead of having to redo them completely. For example, cut too little the first time - you can always cut away more, but you cannot add material back to a mold.
VI. Design/Manufacture your most complicated part first, then adjust subsequent parts in order of complexity when complications arise. Note the "when" and not "if."
2. Quality Control and Assembly
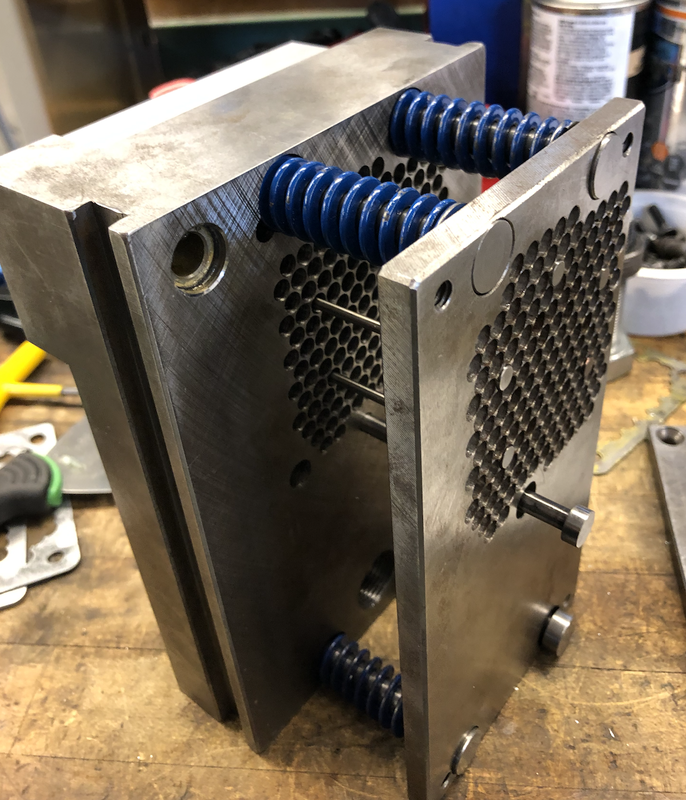
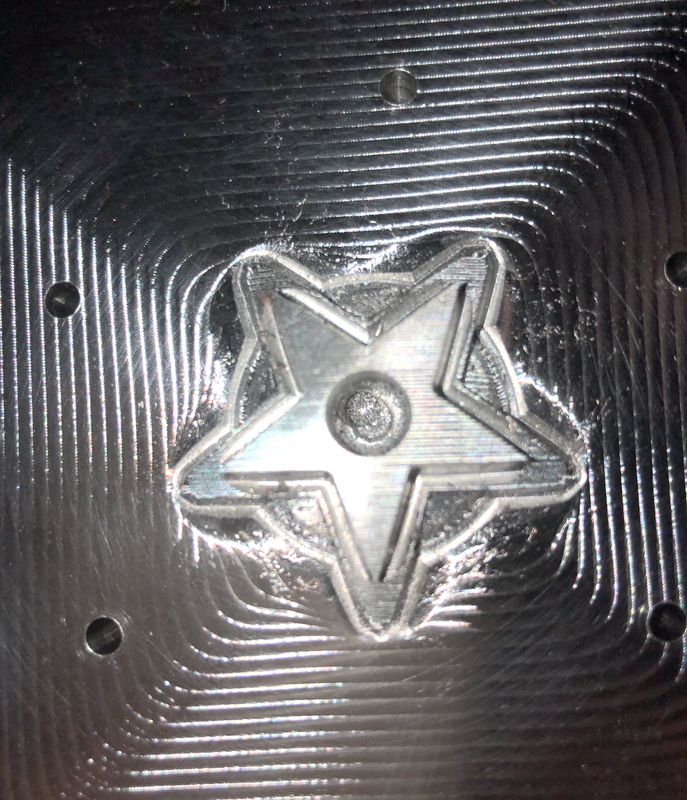
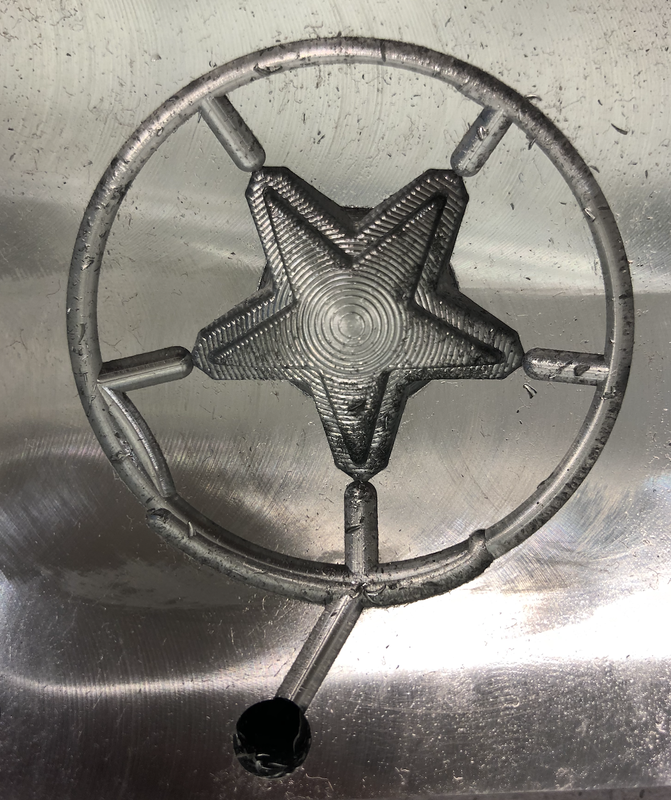
Assembly went smoothly. The parts fit snugly and the finished product both squeaked and yoyoed. The yoyos also survived rigorous drop tests and even forceful throws before splitting open.
3. Control Charts
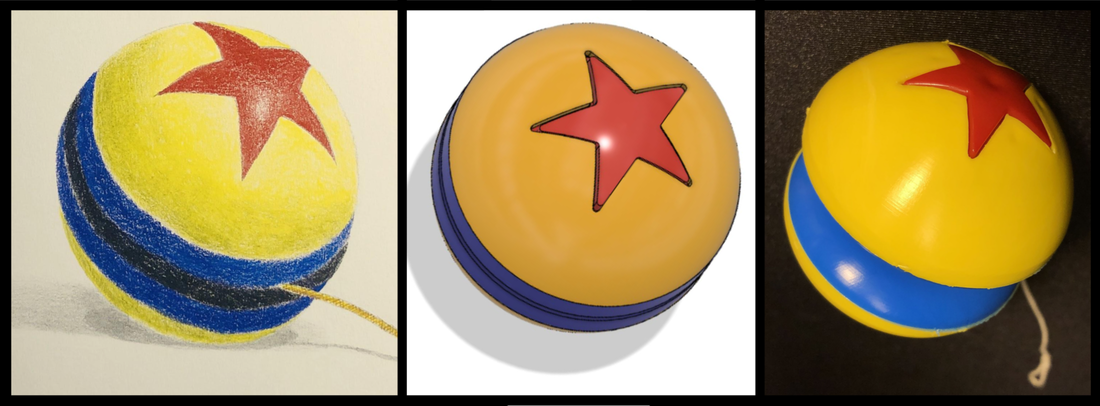
4. Final Yo-Yo